How to Read a Topographic Map: A Beginner’s Guide to Contours, Grid References and Scale
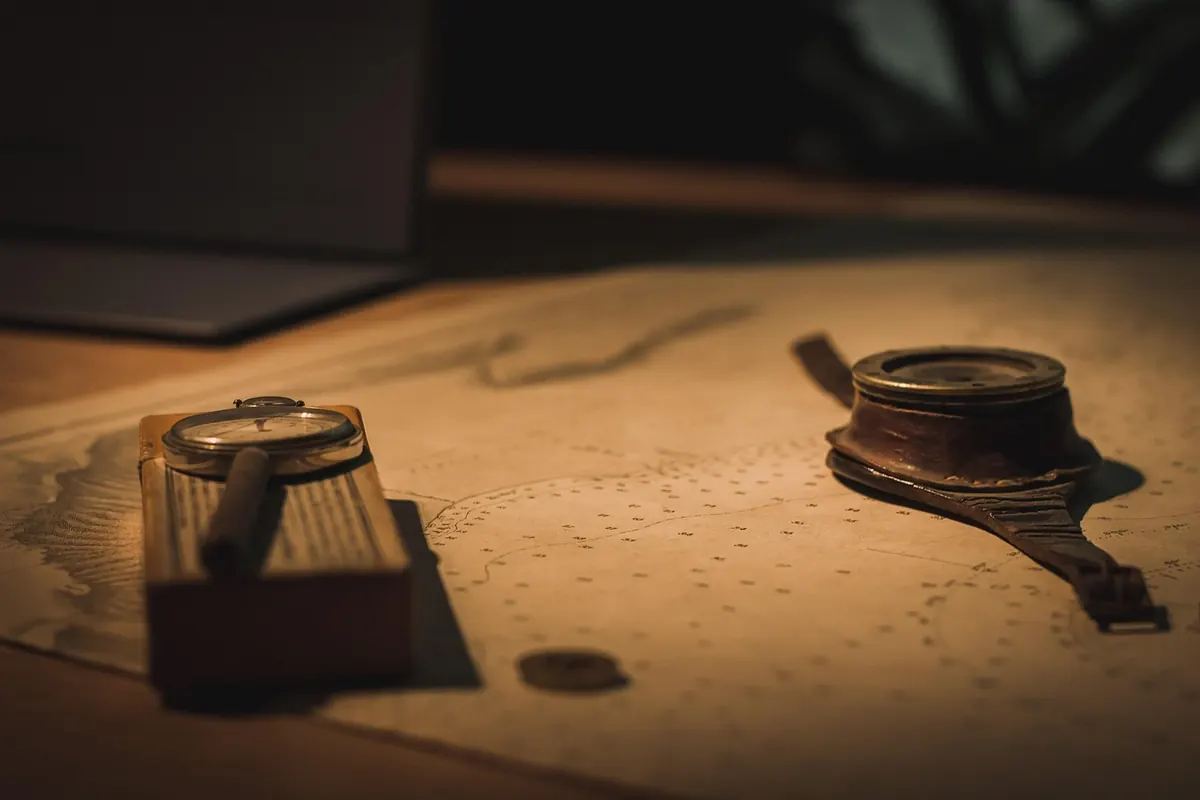
A paper map has a reputation problem. It looks like homework: a sheet of colours, squiggles and tiny blue numbers that seems designed for people who already know what they are doing. Then your phone battery dies on a clouded hillside and that folded sheet in your rucksack becomes the only thing that knows where the path goes.
The language of a topographic map is small. Learn a dozen rules and you can read the shape of a hillside, plan a sensible day out and tell someone precisely where you are standing. Ordnance Survey is the starting point here, since its Explorer and Landranger sheets cover Britain, but the same principles apply to almost any topographic map.
Start with the legend, not the map
Every map carries a key, usually tucked into a corner or printed on the cover. It is the first thing to read and the thing most people skip. Symbols vary between publishers, between countries and even between editions, so never assume a dashed line means the same thing on two different sheets.
For walkers, five categories cover most of what matters:
- Rights of way. Footpaths, bridleways and byways each have their own line style and colour. A dashed green line is not the same as a solid one, and it matters on the ground.
- Access land. Open country you may walk across, often shaded. The rules there are different from those on a public path.
- Water and wet ground. Streams, ponds and marsh symbols help with navigation and tell you where the good tent pitches are not.
- Built features. Walls, fences, buildings, pylons and car parks make excellent handrails to follow or landmarks to aim for.
- Woodland and vegetation. Shows whether a route runs under cover or across open ground, which affects both navigation and how wet you get.
Spend ten minutes with the legend of the map you actually own. That is a better use of time than reading a second guide like this one.
Scale: how much ground fits on the page
The scale is a ratio. On a 1:25,000 map, one unit on paper equals 25,000 of the same units on the ground. In practice, 1 cm covers 250 metres, so 4 cm is one kilometre. On a 1:50,000 map, 1 cm covers 500 metres and 2 cm is a kilometre.
The smaller the number after the colon, the more detail you get and the less ground fits on the sheet. Explorer maps show field boundaries, individual buildings and small paths, which is why most British walkers carry them. Landranger maps cover a wider area and suit cyclists and long-distance planning.
Measuring is straightforward once you have the scale. Use the romer scale on a compass baseplate, mark distances along the edge of a piece of paper, or run a length of string along the route and compare it to the scale bar. The scale bar at the bottom of the map is often quicker than arithmetic, especially when a path wiggles. A 12-kilometre walk is 48 cm on a 1:25,000 Explorer sheet but only 24 cm on a 1:50,000 Landranger, which is why the same route can feel cramped on one map and spread out on another.
Before you set off, check the margin as well as the map. It gives the scale, the contour interval, the date of the survey and the magnetic variation. An old edition may miss a new bypass, a diverted path or a felled wood. The contour interval matters too: on an Explorer it is usually 5 metres, while many Landranger sheets use 10 metres. Reading the interval tells you how much climb each line represents.
Contours: reading the shape of the land
Contours are the part that makes a topographic map topographic. A contour line joins points of equal height above sea level. It is not a path, a fence or a stream. It is a height. If you stand anywhere on one contour line, you are at the same elevation as every other point on that line.
The spacing of the lines tells you the steepness of the ground. Lines close together mean the height changes quickly, so the slope is steep. Lines far apart mean the height changes slowly, so the slope is gentle. You can often feel this before you see it: a crowded cluster of contours on the map usually becomes a sweaty few minutes on the hill.
Shape matters as much as spacing. Contours that form a series of closed rings mark a summit or a hilltop. If the rings have small tick marks pointing inward, they mark a depression. Where contours cross a valley, they bend into a V, and the point of the V aims uphill, following the valley upstream. Where they wrap around a spur or ridge end, the V points downhill. That single rule lets you look at a map and see valleys, ridges, bowls and shoulders without any shading at all.
Contours also let you estimate ascent. If the interval is 10 metres and your route crosses 15 contour lines going uphill, you have about 150 metres of climbing. Add the smaller ups and downs and you get a realistic picture of the day. A route that looks short on paper can be brutal if it crosses dense contours, while a longer route along a valley floor may be far easier.
Treat contours as the map's way of drawing effort. Distance tells you how far your feet must go; contours tell you how much your legs will complain.
When planning, use contours to choose a line. A path that follows a gentle contour around a hillside is usually kinder than one that cuts straight up the fall line. A valley may offer shelter from wind, while a ridge gives better views and easier navigation. Neither is automatically right; it depends on the weather, the group and the time you have.
Grid references: telling someone exactly where you are
A grid reference turns a patch of ground into a short code. On Ordnance Survey maps, the national grid uses two letters followed by numbers. The letters identify the 100-kilometre square, and the numbers identify a point inside it. Eastings run along the top and bottom of the map; northings run up the sides. The simple memory aid is: along the corridor, then up the stairs. Read east first, then north.
A four-figure grid reference gives a one-kilometre square. For example, the six-figure reference NT 123 456 falls inside the four-figure square NT 12 45. That is enough to put a search team in the right square, but not enough to find a stile in a hedge. A six-figure reference adds a tenth of a kilometre, or 100 metres, to each direction. The same point is NT 123 456, which is much more useful. Eight-figure references go down to 10 metres and are used for specialist surveying, but six figures is the standard for walkers, climbers and mountain rescue.
To estimate the extra digits, divide the square into ten equal parts from left to right and from bottom to top. Many compasses have a romer scale marked for 1:25,000 or 1:50,000, which removes the guesswork. Line up the corner of the romer with the grid line, read the easting tenths first, then the northing tenths. Write the reference down immediately. It is easy to reverse the numbers when you are cold, tired or passing the phone to someone else.
Practice while you are still at home. Pick a car park, a bridge or a summit on your map, work out its six-figure reference, then check it against a mapping app. Do that five times and the routine sticks. In an emergency, being able to say "I am at NT 123 456, beside a wooden footbridge" is far better than describing a view.
Putting it together: a simple route plan
Reading a map is not an exam; it is a conversation with the ground. A straightforward plan uses everything above in a fixed order.
- Choose the right sheet and scale. Use 1:25,000 for footpaths, walls and tricky ground. Use 1:50,000 for big picture planning or cycling.
- Read the legend and margin. Check rights of way, access land, contour interval and edition date.
- Trace the route and measure it. Mark each turn, junction and handrail. Note the total distance in kilometres.
- Count the contours. Estimate total ascent and mark the steep sections. Add time for climbs, not just distance.
- Write down key grid references. Start, finish, escape routes, water sources and any tricky junctions.