How to Make a Travel Memory Map: Turn Your Trip into a Personal Wall Map
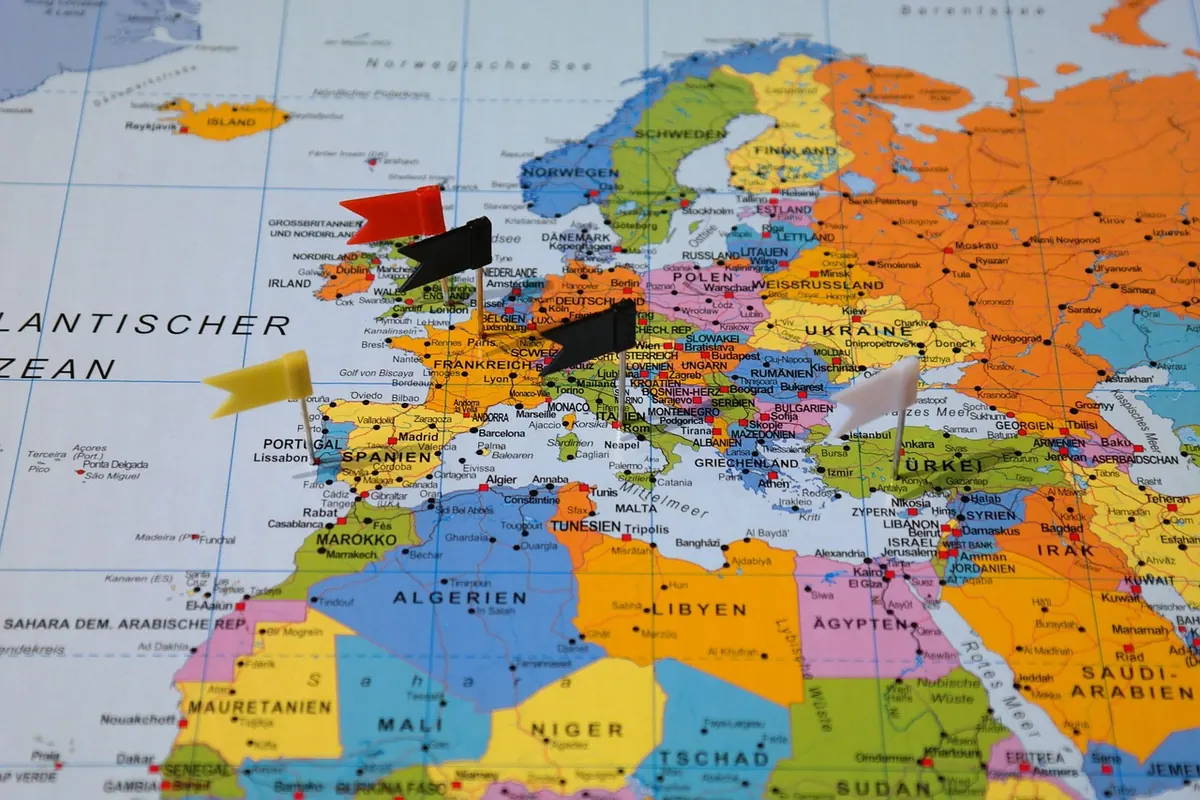
Most holiday photographs end up in a folder on a phone, sorted by date and hardly ever opened. A travel memory map does something different with the same material. One sheet of paper on the wall, a line tracing where you went, a handful of pins for the places that stuck — and the trip becomes part of the room instead of buried in an app.
It costs very little and takes an afternoon. The trick is to treat it as a piece of design rather than a scrapbook. Restraint does most of the work.
Decide What the Map Is For
Before you buy anything, answer one question: is this a record of one journey, or a map that grows over the years? The two lead to different choices.
A single-trip map can afford detail. Every overnight stop, every ferry crossing, the long drive that took all day and the wrong turn that turned out to be the best part. A lifetime map needs breadth instead — a country, a continent, the world — with one pin per place, added slowly. Try to do both on the same sheet and you will end up with something that reads as neither.
Be honest about scale. If you spent a fortnight in one city, a map of the whole country gives you nowhere to put anything interesting; all your pins fall on a single dot. Either choose a city plan, or add an inset: a small rectangle of the city at a larger scale, printed or drawn, sitting in an empty corner of sea.
Choose Your Base Map
You have more options than you might think. A printed wall map from a map shop or good bookshop, a large-format print of a plain outline map, a page torn from a second-hand road atlas, or a regional sheet such as an Ordnance Survey Landranger if your trip was a walking or cycling one. Old atlases from charity shops are cheap and often beautifully drawn.
Two practical points. First, pale base colours work better than dark ones: your route and pins should be the loudest thing on the wall, not the map's own shading. Second, decide early whether you want paper or a laminated sheet. Paper takes pins, pencil and tape happily. A laminated map is easier to clean but needs a backing board underneath before a pin will hold.
If you are printing the map yourself, check the licence terms of the source. Most are fine for personal, non-commercial use; selling prints of someone else's cartography generally is not.
Plot the Route — and Keep the Detours
Work in pencil first. A soft pencil line can be rubbed out; a wrong permanent line will annoy you every time you look at the map.
For the finished route, you have two good options. Draw it with a fine marker, or sew it with waxed cotton thread or embroidery floss, using a needle to pierce the paper at each stop and a small knot on the reverse. Thread gives the map a slight relief that photographs beautifully and suits a craft-paper or vintage look.
Vary your line styles. Solid for ground travel, dotted for flights, dashes for rail. Draw the coast road if that is the road you took — the detour is usually the story. But resist plotting every small movement; a map that shows a walk to the bakery and back is a map with nothing to say.
Keep a list beside you while you work: dates, place names, the order things happened in. Your phone's photo library almost certainly has a map view, and booking confirmations will fill in the gaps in your memory.
Pins, Numbers and a Key
Not everything deserves a pin. Choose the moments that still come up in conversation:
- The first night's accommodation, wherever it was
- A meal you still describe to people
- A viewpoint, a swim, a summit
- The place you would go back to tomorrow
- Something that went wrong and makes a good story now
Ten pins or fewer is usually right for a single trip. Beyond that the map starts to look like a rash and the eye stops reading it as a journey.
Brass map pins look the part on a paper map; flat-headed pins hold small prints closer to the surface. If you want a key, number the pins with tiny adhesive labels and write the list neatly in a corner of the sea, or print it on a strip and stick it along the bottom edge. Colour can carry meaning too — one colour per year, or per form of transport.
Adding Photographs Without Wrecking It
The instinct is to cover the map in pictures. Don't. A dozen small prints, placed deliberately, will do more than fifty.
Print them small — 6x4 prints trimmed square work well — and attach them with photo corners or a narrow strip of paper tape rather than glue, so you can change your mind later without tearing the map. If you are framing the whole thing, a row of photographs running around the outside edge of the map keeps the cartography legible and gives you somewhere to put the best shots.
Two things to plan for: pins need depth, so either frame without glass or use a deep frame with spacers. And light fades ink. Keep the map out of direct sunlight, or choose glazing with UV filtering, or the print you love will be a pale ghost in five years.
Making It: A Sensible Order of Work
- Gather the facts — dates, stops, routes — and write them in order.
- Lay the map flat on a table you can leave for a few hours. Weight the corners.
- Pencil the route, then step back and check the proportions look right.
- Mark the stops, then draw or sew the final line.
- Add the title and dates in a corner. Keep it simple: place, month, year.
- Place photographs last, without fixing them, and move them around until the balance works.
- Mount the map on foam board or a cork sheet if you want pins to hold firmly, then hang it.
Hang It Where You Will Actually See It
A memory map above the stairs or in a spare room is a memory map nobody looks at. Put it where you drink your morning coffee, or beside the desk. Fix it properly — a map this size is heavier than it looks, so use wall fixings suited to your wall, and avoid radiators, damp walls and full sun.
Then leave room to add. A blank corner, a few spare pins, a pencil kept nearby: the best versions of these maps are never quite finished, and the next trip gets a line of its own.
Photo: Hans / Pixabay