A Checklist for Your First Solo Trip Abroad: Documents, Safety and Navigation
A Checklist for Your First Solo Trip Abroad: Documents, Safety and Navigation
Booking the flight is the easy part. The work that decides whether your first evening abroad feels exciting or merely difficult happens in the fortnight before you leave: the passport check, the offline map, the address written down in a script you can't read. None of it is glamorous, and it takes an afternoon at most. Do it properly once, and you can stop managing logistics and start paying attention to where you are. The goal is not to eliminate uncertainty — that's impossible — but to make sure the predictable problems are already solved, so the unpredictable ones are easier to handle.
Treat the list below as a starting point rather than a rule. Solo travel looks different for a week in Lisbon and three months in Laos, but the foundations are much the same. A weekend in Copenhagen and a month in Colombia will demand different packing lists and different levels of caution, yet both reward the same basic preparation: documents in order, a way to find your bed at night, and a plan for what to do if something goes wrong.
Start with the paperwork you can't fix at the airport
Your passport is the one item with no workaround. Check its expiry against your destination's rules — many countries want at least six months' validity beyond your planned departure, and some ask for blank pages. Check entry requirements on the destination's official immigration website rather than a forum thread, and check transit rules too: a few countries require a visa even if you're only changing planes. Electronic travel authorisations need applying for in advance, and only ever through official sites. Anything charging a premium to "help" is best avoided. If a website looks almost official but has a checkout page before it has a government logo, close the tab.
If your situation is complicated — dual nationality, a previous overstay, travel for work — ask the relevant embassy or a qualified immigration adviser. Guessing is expensive. Insurance matters here as well: medical cover and repatriation count for far more than a delayed-baggage payout. Read the exclusions. If you plan to rent a scooter in Thailand or hike above 4,000 metres in Peru, check that your policy actually covers those activities; many standard policies do not. Keep the emergency assistance number saved in your phone and written on paper, because a dead battery is not an excuse.
Build a paper trail before you need one
Before you fly, gather:
- your passport photo page
- any visa or entry permit
- your insurance policy and its 24-hour emergency number
- bank card numbers and your bank's overseas contact line
- your accommodation's address and phone number
- two emergency contacts at home
Keep one set in your bag, one at your accommodation, and leave a third with someone at home. Store digital copies where you can reach them without a data connection — a PDF in your phone's files, or photos in your camera roll — because your first half hour in a new country is exactly when roaming fails, airport Wi-Fi asks for a code you don't have, and the border officer wants to see the next booking. A screenshot of your first night's address in the local language is worth more than a dozen hopeful taps on a maps app with no signal.
This paper trail is also for the people who love you. Send a one-page itinerary to a parent or friend: flight numbers, dates, the name of your first hotel, and a rough idea of where you'll be each week. It doesn't need to be exact. It just needs to be enough that someone can raise a flag if you go quiet for longer than expected.
Make navigation work before you leave the airport
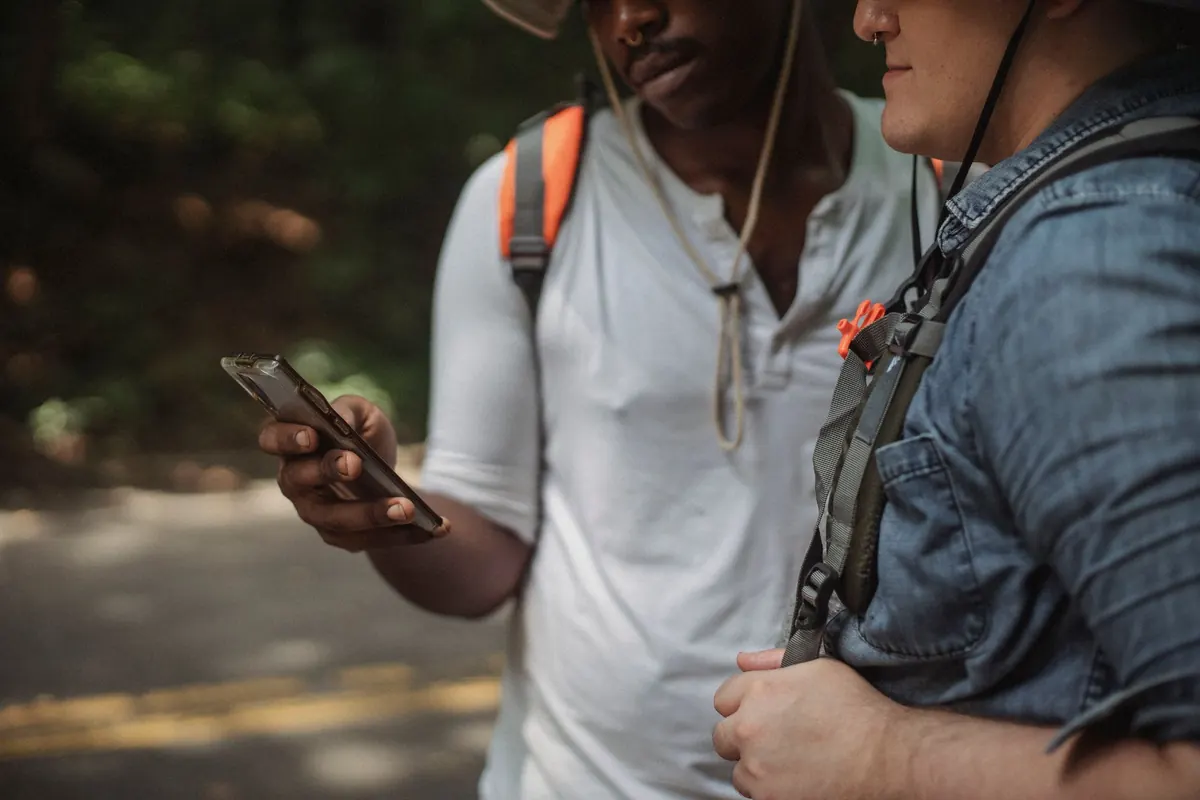
Navigation is the skill that separates a calm first day from a stressful one. Download offline maps for your destination before you fly — most map apps let you save a city or region — and test them in airplane mode at home. Drop a pin on your accommodation, your arrival station, and one or two landmarks near your bed. If you're arriving after dark, look at the route from the station to the door in street view, even if it's just to see which corner the pharmacy is on.
Write down the address in the local script if the destination uses one. A taxi driver in Tokyo may not read the Latin alphabet version of your hotel name, and a bus driver in Tbilisi will appreciate the Georgian script. Carry a small power bank, a charging cable, and a universal adapter. If your phone dies while you're trying to find a hostel at 11 p.m., you are not navigating; you are improvising. A paper backup — a printed map, a hostel business card, a note with the phone number — weighs almost nothing and can save the evening.
Arrival day: the first two hours
Plan your arrival in three steps: get cash, get connected, get to your bed. At the airport, withdraw a small amount of local currency from a bank ATM rather than a currency exchange desk, and decline the ATM's offer to charge you in your home currency — that "convenience" usually hides a poor exchange rate. Buy a local SIM card or eSIM if your phone supports it, but don't spend an hour comparing plans when you're tired; a modest data package is enough for maps and messages. Then take the safest reliable transport you can afford. A licensed taxi or airport train costs more than the cheapest option, but on your first night, certainty is worth the premium.
Safety without paranoia
Solo safety is mostly about removing easy opportunities and trusting your instincts early. Keep your bag zipped and in front of you in crowds. Split your money between two places — a day wallet and a hidden backup — so a single theft doesn't end your trip. Don't announce your accommodation on social media in real time, and don't tell a stranger you've just met exactly where you're staying. Share your location with a friend at home if you're heading somewhere remote or meeting someone new.
Learn a few phrases: hello, thank you, excuse me, I don't understand, help. They won't make you fluent, but they change how you're received. Know the local emergency number, and save the address of your country's embassy or consulate. In most places, the greatest risks are the mundane ones — traffic, dehydration, a sprained ankle on a wet staircase — so carry water, wear shoes you can walk in, and don't schedule every hour of every day. Fatigue makes bad decisions.
Preparation is not the opposite of spontaneity. It is what makes spontaneity possible.
A simple pre-departure checklist
- Check passport validity, blank pages, and visa or entry requirements on official sites.
- Buy travel insurance that covers medical care, repatriation, and any activities you plan to do.
- Save digital and paper copies of all key documents, including insurance and emergency numbers.
- Download offline maps, pin your accommodation, and write the address in the local script.
- Notify your bank you're travelling, and carry a backup card separate from your main wallet.
- Pack a power bank, adapter, basic first-aid supplies, and any prescription medicine in original packaging.
- Send your itinerary and emergency contacts to someone at home.
None of this takes long, and none of it requires you to be an experienced traveller. It requires only that you treat your first solo trip as a series of small, solvable problems rather than one giant unknown. Do the paperwork, build the paper trail, make navigation work offline, and keep your safety rules simple. Then you can land, take a breath, and let the trip begin.
Photo: ArtHouse Studio / Pexels